
PROTECT YOUR INVESTMENT WITH ONE SIMPLE STEP BEFORE CLOSING DAY
The Pre-Closing Video Walkthrough: Your Best Protection as a Seller
You’ve accepted an offer, navigated inspections, and you’re finally approaching closing day. Congratulations! But before you hand over those keys for the final time, there’s one crucial step that could save you from post-closing headaches: creating a timestamped video walkthrough of your home. Today’s housing market has created a perfect storm of high expectations and stretched budgets. Buyers are paying premium prices and expect everything to be in pristine working order when they move in. What might seem like a minor issue to you could feel overwhelming to a buyer who just made the biggest purchase of their life.
Why This Simple Step Matters More Than Ever
Today’s housing market has buyers stretching their budgets like never before, and they’re expecting perfection when they move in. What might seem like a minor hiccup to you could feel overwhelming to a buyer who just made the biggest purchase of their life. When concerns arise—and they sometimes do—you’ll want solid documentation on your side. Your timestamped video becomes crucial evidence, clearly demonstrating the home’s condition when you vacated and fulfilling your obligations as outlined in the purchase agreement. In many cases, these situations resolve themselves or turn out to be simple user error. But in worst case scenarios, buyers might pursue legal remedies, claiming damages or demanding expensive repairs.
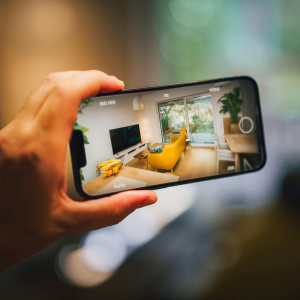
How to Create Your Protective Video Documentation
Schedule 15-20 minutes either the day before closing or that morning to film your comprehensive walkthrough. The key is ensuring your video shows a clear timestamp throughout.
Timing is Everything: Set aside time either the day before closing or that morning to film a comprehensive walkthrough. Make sure your video shows a clear timestamp throughout—either display your phone’s time at the start or use a camera app that automatically stamps the date and time.
- Kitchen Appliances: Show temperature displays and open doors to demonstrate they’re properly cooling for fridges and freezers. Start cycles for dishwashers and show burners and ovens heating up properly.
- Climate Control and Systems: Set thermostat to normal temperature (around 22°C) and film HVAC system operating. Test garage door opener and document washer/dryer functionality.
Special Attention to Agreed-Upon Repairs
If your purchase agreement included specific repairs or improvements, document their completion with detailed video footage or high-quality photos. This prevents any disputes about whether work was actually completed. Document everything that was promised to avoid post-closing complications that could cost you thousands in legal fees or unwanted repairs.
The Bottom Line
This 15-20 minute investment could potentially save you thousands in disputes, legal fees, or unwanted repairs. In an era where buyers have sky-high expectations and stretched budgets, protecting yourself with clear documentation isn’t just smart—it’s essential. Consider this video your insurance policy for peace of mind after closing.